Vivint Outdoor Camera Pro Gen 3 vs Spotlight Cam: Which Should You Choose?
If you’re considering upgrading your home security system with the Vivint Outdoor Camera Pro (Gen 3), one of the biggest decisions you’ll face is how to deploy it.
Should you use it as a standalone outdoor security camera, or integrate it into a spotlight (floodlight) setup for more proactive protection?
After testing both configurations, the answer depends on your home layout, security needs, and how proactive you want your system to be. This guide breaks down the key differences, real-world performance, and which setup is best for your situation.
Product Overview: One Camera, Two Experiences

The key thing to understand is this:
👉 It’s the same camera, but the experience changes dramatically depending on how you use it.
The Gen 3 camera includes:
- 4K image sensor
- 5.3x zoom with clarity
- RADAR + AI behavior detection
- Smart Deter technology
- Vehicle protection
- Night vision
- Continuous recording
- Two-way communication
- Speaker in mounting bracket
What changes is how the camera responds to threats.
Option 1: Standalone Outdoor Camera
Best For:
- Front doors
- Side yards
- Backyards
- General perimeter monitoring
How It Works
As a standalone device, the Vivint Outdoor Camera Pro (Gen 3) focuses on monitoring and intelligent detection.
Using its RADAR + AI system, it can:
- Distinguish between people, animals, and vehicles
- Identify suspicious behaviors like lingering or pacing
- Reduce false alerts from weather or shadows
Real-World Performance
In testing, the standalone setup delivered:
- Crisp, detailed video quality
- Accurate alerts once sensitivity was tuned
- Reliable detection even at night
However, while it alerts you to threats, it doesn’t always actively stop them.
Buy on Vivint
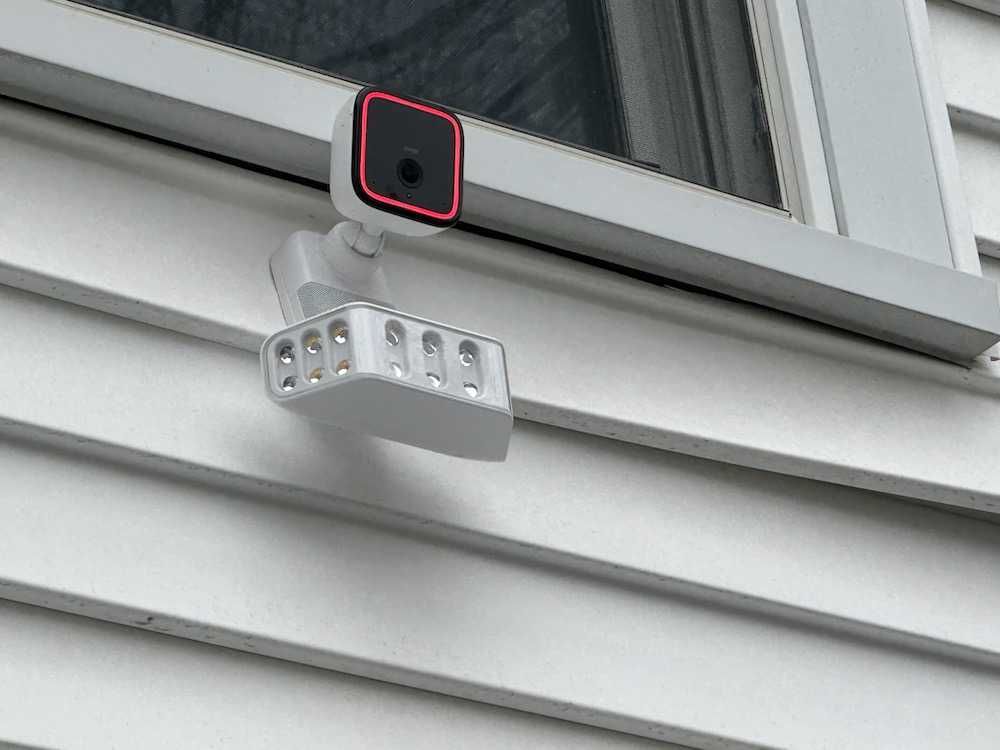
Option 2: Spotlight (Floodlight) Camera Setup
Best For:
- Driveways
- Garages
- Front yards
- Areas with vehicle exposure
- Package delivery zones
How It Works
When integrated into a spotlight system, the camera becomes proactive.
Instead of just detecting activity, it:
- Activates lights automatically
- Triggers Smart Deter sounds
- Responds to behavior in real time
Real-World Performance
This is where the system really shines.
During testing:
- The lights activated when someone approached the vehicles
- Smart Deter triggered when lingering was detected
- The combination felt like it stopped the behavior before it escalated
This setup transforms the camera from:
👉 Passive monitoring → Active deterrence
Buy on Vivint
Key Difference: Passive vs Proactive Security
Here’s the simplest way to think about it:
| Feature | Standalone Camera | Spotlight Setup |
|---|---|---|
| Monitoring | ✅ Yes | ✅ Yes |
| Behavior Detection | ✅ Yes | ✅ Yes |
| Alerts | ✅ Yes | ✅ Yes |
| Lights | ❌ No | ✅ Yes |
| Active Deterrence | ⚠️ Limited | ✅ Strong |
| Best Use Case | General coverage | High-risk zones |
RADAR + AI: Why It Matters in Both Setups

Regardless of configuration, the biggest advantage of the Gen 3 is its RADAR + AI system.
Unlike traditional cameras, it evaluates:
- Intent
- Behavior
- Movement patterns
This means:
- Fewer false alerts
- Better identification of real threats
- Smarter automation triggers
For example:
- Walking past your house → No alert
- Pacing near your car → Alert + deterrence
This intelligence is what makes both setups effective—but it becomes far more powerful when paired with lighting.
Vehicle Protection: Where Spotlight Wins
One of the standout features is vehicle protection.
While both setups can detect activity near your car, the spotlight configuration:
- Illuminates the area instantly
- Triggers Smart Deter
- Creates a visible deterrent
If you park:
- In a driveway
- On the street
- In an exposed garage
👉 The spotlight setup is the clear winner.
Smart Deter: Better with Light

The Smart Deter system works in both configurations, but it’s significantly more effective with lighting.
Why?
Because deterrence is psychological:
- Sound alone = warning
- Sound + light = confrontation
During testing, I found:
- The whistle tone worked well
- Light activation made the response feel immediate and noticeable
This combination makes intruders more likely to leave quickly.
Installation Considerations
Both setups require:
- Professional installation by Vivint
- Wired connection to a PoE adapter
- Wi-Fi bridge connectivity
However:
- Spotlight setups may require more strategic placement
- Installation may take slightly longer
The benefit is a cleaner, more secure installation that avoids exposed power connections.
Cost Considerations
- Standalone Camera: Lower entry cost
- Spotlight Setup: Higher cost but more functionality
If budget is a concern, starting with a standalone and upgrading later is a viable path.
Which Should You Choose?
Choose Standalone If:
- You want reliable monitoring
- You’re covering low-risk areas
- You prefer a simpler setup
- You’re starting with a smaller budget
Choose Spotlight If:
- You want proactive security
- You’re protecting vehicles or entry points
- You want to deter threats in real time
- You value a visible security presence
Best Setup by Location (Expert Recommendation)
- Driveway → Spotlight setup
- Front yard → Spotlight setup
- Front door (with doorbell) → Standalone
- Backyard → Standalone or Spotlight, depending on exposure
Final Verdict
The Vivint Outdoor Camera Pro (Gen 3) is powerful in both configurations—but the spotlight setup unlocks its full potential.
- Standalone = Smart monitoring
- Spotlight = Smart + proactive protection
If your goal is simply to see what’s happening, standalone works great.
But if you want to prevent incidents before they happen, the spotlight setup is the better investment.
Pro Tip for Buyers
Before choosing, map out:
- Where your vulnerabilities are
- Where lighting would add value
- Where visibility matters most
And if you’re unsure which devices are compatible with your existing smart home setup, tools like GearBrain’s Compatibility Find Engine (and soon GearBrain Assistant) can help you make the right decision.