The Conversation (0)
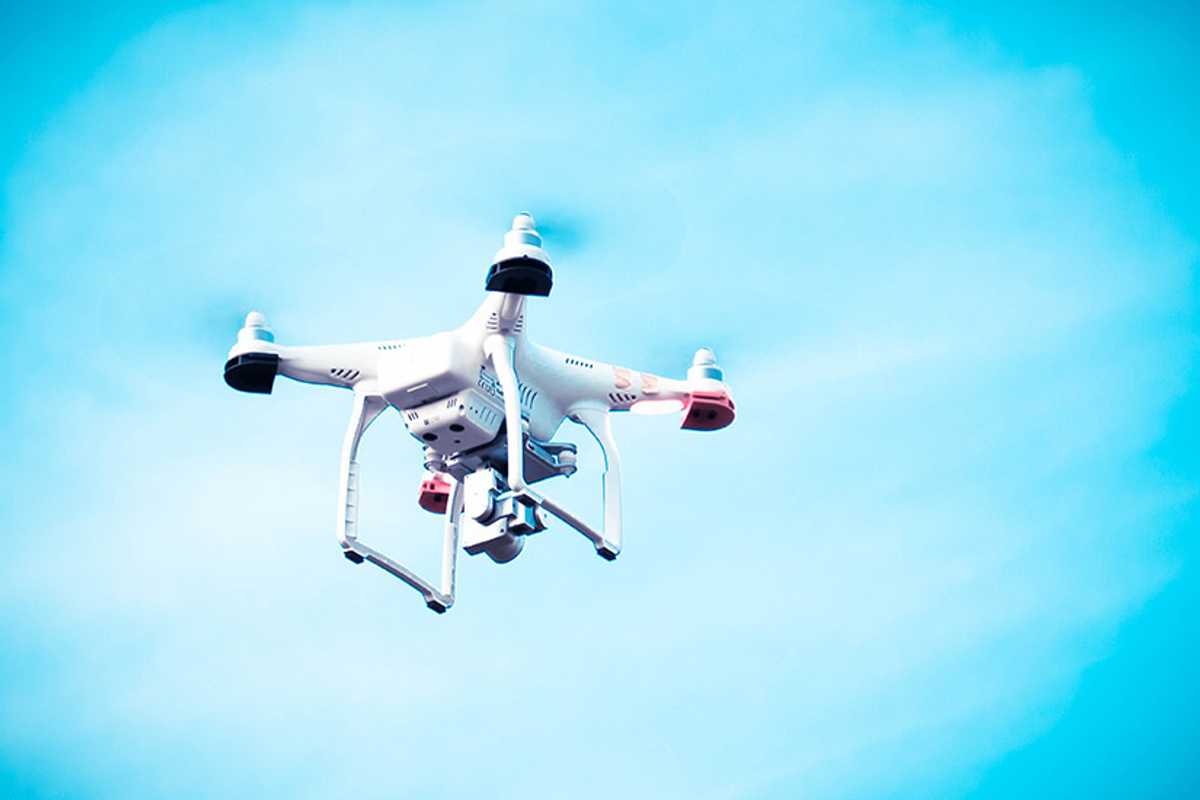
With camera drone technology on the up and up, there are hundreds of different purchasing options for the would be aerial videographer. However, no company has managed to become as synonymous with drone photography as GoPro. Sure, you could argue for the use of expensive heavy-payload drones equipped with even more expensive cameras. But when you consider the new HERO4 Black offers 4K resolution at 30fps, it's not likely that you'll require a pricier setup.
Utilizing a GoPro drone correctly can provide an incredible payoff for the cost—particularly after you upload and view your footage, whether on your computer or on social media. That's why we've compiled these nifty tips and techniques to help you become a master videographer with your GoPro drone.
1. Conditions, lighting, location, practice

golden hour lighting
These four factors are pretty obvious things to consider prior to flying your GoPro drone. Wind conditions can make or break your flight, and you probably shouldn't even attempt to fly in a heavy downpour. Similarly, harsh daytime lighting or too much darkness can potentially ruin a shot. To help keep the wind at bay and capture your subjects in that perfect soft-lighting, it's a good idea to plan your shoots around sunrise and sunset. You can use this handy golden hour calculator to find the best time for shooting in your specific area.
Location is everything! This one might seem too obvious to even note, but you'd be surprised. Drones have recently come under stricter regulations and lots of public spaces have outlawed their use entirely. You should always research the regulatory policies of a location prior to shooting. Another thing to consider is the amount of bystanders that might be present. Getting the perfect shot with your GoPro drone will be hard enough without obnoxious or worrisome spectators getting in your way.
Regardless of when and where you plan your shoot, you're going to want to get some practice flights in before you set out for the real thing. This will help minimize the amount of takes you'll need for each shot and allow you to feel more comfortable when in front of your subject. You should plan to do several practice flights at your specified location a day or two prior to the scheduled shoot date.
2. Keep size in mind

While helicopter-style shots are definitely cool, you should try to take advantage of the size of your GoPro drone. Smaller drones have the ability to get fairly close to the subject and are uniquely maneuverable. Try planning shots that stay relatively low to the ground and as close to the subject as possible. Of course, those high-altitude establishing shots can be extremely useful too. It's always a good idea to try out multiple angles for each shot if you have the time and battery life.
3. Movement
A lot of new GoPro drone users forget about capturing action in their shots. Just because your camera is moving doesn't mean the subject should stay still. Drones can capture an enormous amount of complexity when a shot is planned properly. Remember to follow the action and try to see the drone as another character in the film. This will help you achieve an organic and natural feel, while adding complexity to your action shots.
It's also important to try and achieve the slowest and steadiest movements possible. The average GoPro drone can move pretty darn fast, and while drone racing is a growing trend, high speeds typically aren't good for capturing quality shots. Practice flying your GoPro drone as slowly as you can and remember that you can always speed up a shot with a few minor edits if need be. Slowing down faster movements usually doesn't look as smooth, unless you're shooting in GoPro's 240fps slow-motion mode.
4. Utilize a gimble for controlled pans and tilts
GoPro with gimble
Gimbles aren't cheap, but they're necessary for gaining full control over your GoPro drone shots. They allow for camera stabilization and highly planned pans and tilts. Here are few shots that require a gimble:
Tilt-Up Reveal:
This type of shot starts with the GoPro drone low to the ground with the camera tilted downward. As the drone moves forward, slowly elevate the drone and tilt the camera upward to reveal your subject in the frame. The easiest way to achieve this shot is to start from the end and work backwards. Figure out the proper framing for the revelation of the subject with the camera tilted up, and then tilt it down and move backward. This way you can ensure that you'll have a perfectly framed reveal. Keep in mind that you might need to adjust the ramping speeds on your gimble depending on the type that you have.
Slow Pan Fly-By:
This is an incredibly common type of GoPro drone shot. It consists of the drone flying by the subject at an angle, while the camera pans to frame the subject. The speed at which your gimble pans needs to be adjusted prior to the shot in relation to how fast your fly-by will be and whether or not your subject is in motion. If you're flying by super slowly, you probably won't want to have the pan speed set very high. Remember that slow and steady usually wins the race when it comes to cinematography.
Chasing the Action:
Chasing a movement can be incredible hard to pull off, depending on your subject. If your filming an actor, you may or may not have the ability to ask them to perform the action again. Otherwise, you're going to have to get it right the first time. This requires an enormous amount of preparation and practice. You need to consider the speed of the drone versus the speed of the subject, while keeping the distance and angle in mind too. Don't forget to check your shot for a reflection or shadow coming from your GoPro drone!
Check out this link for more info on completing these shots.
5. Try working with a co-pilot or DP
Having a second set of eyes can mean the difference between capturing a difficult shot and crashing your drone. Whether you have a dedicated director of photography, or just a friend to act as a spotter, you should try to utilize a co-pilot as much as possible. Two sets of eyes on the monitor will ensure the safest and easiest capture of your shots. And a good director of photography will help give your footage the proper cinematic treatment it deserves. Two heads are always better than one.
-Stephen Roth is a content marketing specialist at Entangled Media. He tries to create meaningful audio and visual content to entertain and inform, while making a lasting impact on the audience and inspiring them to take action. He's happiest when he knows his content has caused someone to think differently or make a change in their life.
GearBrain Compatibility Find Engine
A pioneering recommendation platform where you can research,
discover, buy, and learn how to connect and optimize smart devices.
Join our community! Ask and answer questions about smart devices and save yours in My Gear.