The Conversation (0)
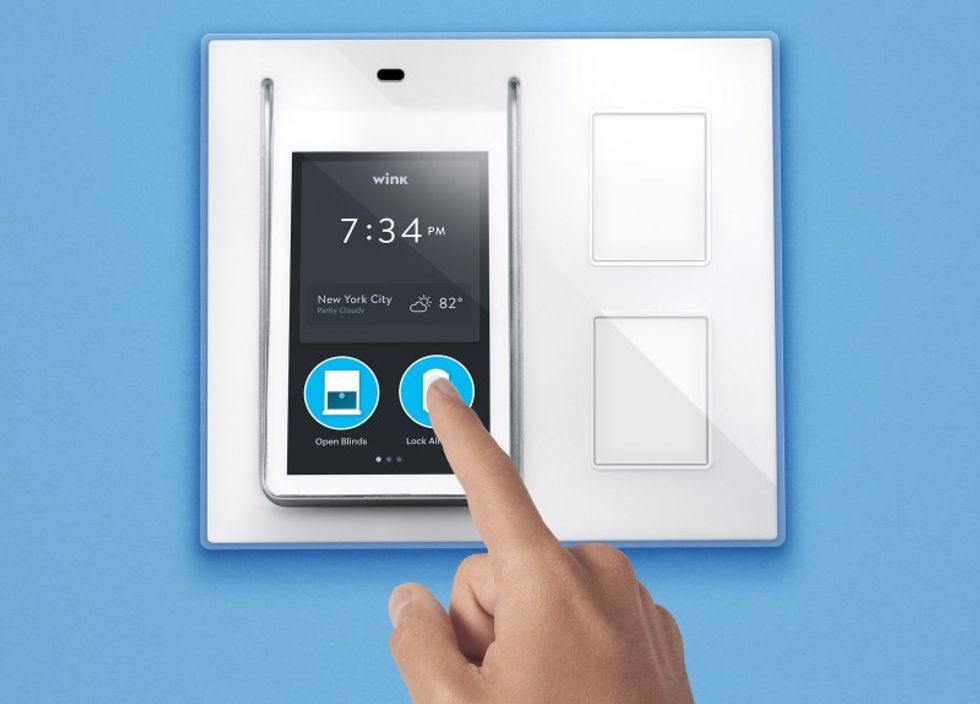
5 Simple Steps To Install Home Depot Wink, A Smart Home System
Home Depot Wink offers a fairly easy install for its smart home system.
Last Updated: August 5, 2016
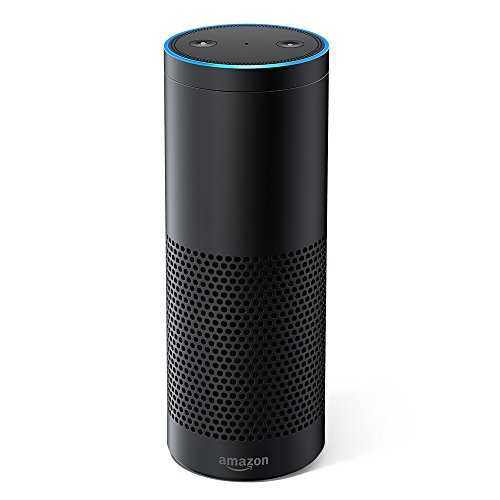
So we can't wholeheartedly proclaim "full steam ahead" to investing in the Wink smart home system (and here's why). But all the brouhaha over the company's future seems to have been solved by its purchase by Flex and Flex's promise to make the most of the platform. Ultimately, we think it's worth the investment, thanks to Wink's easy set-up, its ease of adding new devices, its clever smart product add-ons across a broad swath of device categories, and its wide range of third-party platform consolidation and compatibility, including Apple HomeKit, Amazon Echo, Nest and Philips Hue smart lighting.
But caveat emptor on getting started. Wink updated its Hub mid-2015, and we're unclear if all the old Wink Hub inventory has been cleared from online sources.
Step 1: You want a Wink Hub with a blue dot stuck on the outside front of the box, which differentiates it from the old Wink Hub. If you want to be sure, purchase the Wink Hub from a physical Home Depot store so you can check if the box has the blue dot, or make sure the Hub you buy online is the current model.
Step 2: As with other smart home hubs, the first thing you need to do is download the Wink app from the Apple App Store or the Google Play store. The Wink Hub includes no written instructions – the hand-holding step-by-step installation guide for its Hub and all add-on smart devices are handled through the Wink app.
Step 3: Once you open the app, you'll be asked to establish a Wink account by entering your name, your email address and creating a password.
Step 4: Wink's Hub integrates with your home network via Wi-Fi rather than a physical Ethernet cable connection to your router. So the hub can theoretically be placed anywhere – as in more centrally – in your home. Wink recommends you locate its Hub at least 3-5 feet from your router or any other Wi-Fi device. If you've got a more powerful router, you may have to move the Hub further – much further – which you'll discover through trial-and-fail. Because of my powerful router, I ended up moving the hub to a completely different room to make a successful connection.
One other caveat: if you have a dual-band router (with 2.4GHz and 5GHz options), use 5GHz to connect the hub to your Wi-Fi network. This higher band will avoid interference with other Wi-Fi and even Bluetooth gear. (To learn more about smart home wireless protocols, check out From B to Z: How Your Smart Home Speaks Wireless.)
Step 5: The actual pairing of the hub requires only a few steps and takes less than 30 seconds, if it's far enough away from your router and syncs successfully. In the app, just tap the "+" "Add a Product" icon, then tap "Hubs," the first item on the resulting list of product types. All you need is your Wi-Fi network name and password.
Most subsequent Wink smart devices are added in the same way – supply the device with power (AC or battery), tap "Add a Product," find the device in the list or just scan in the product's bar code. You then follow the subsequent pairing directions for that product. Wink's app provides all the necessary and easy step-by-step instructions for each Wink-certified smart device you add.
If you need help installing Wink Smart Home System, you can visit HomeAdvisor.com to find a local trusted professional.
GearBrain Compatibility Find Engine
A pioneering recommendation platform where you can research,
discover, buy, and learn how to connect and optimize smart devices.
Join our community! Ask and answer questions about smart devices and save yours in My Gear.