As you start to build a smart home you have two options: Have professionals install everything, or choose to do things on your own. The do-it-yourself, or DIY, route means buying everything, figuring out where they go, and then how they connect. This is a great option — we support that at GearBrain with our How To articles and reviews. However, some people may prefer the professional path, which is more expensive but certainly simpler. One company that offers this kind of white glove service is SnapAV's Control4.
Control4 custom builds personal systems, tailored to precise specs and size of your home. These can include pretty much anything from home entertainment systems to climate control, smart lights, locks and even home security. They can even take dumb devices, products that don't, traditionally, work on a wireless connection, and integrate them as well.https://www.gearbrain.com/control4-smart-home-syst...
The company just released a new version of its smart home operating system, called the Control4 Smart Home OS3, as well as a new controller named Neeo. GearBrain got a chance to test this system, and watch an installation process from start to finish of one of their starter kits. This article will walk through the installation process. In part two, we'll talk about how the Control4 system and Neeo fared over a few weeks of testing in a real home.
How does the installation process work for Control4?
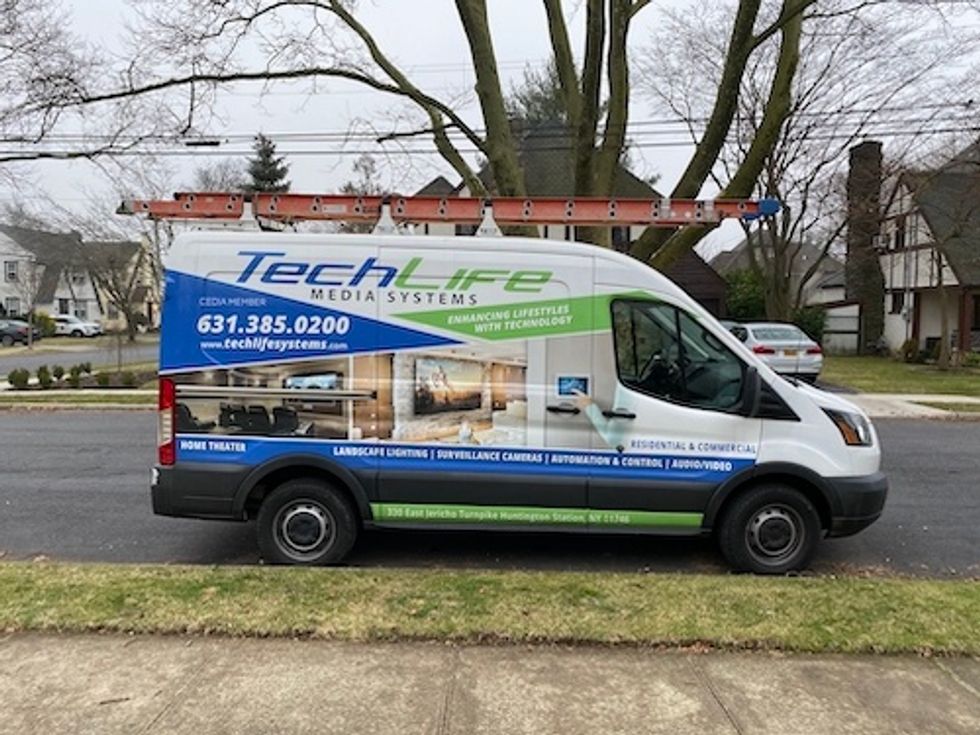
Control4 is a not a smart home system you'll find at a big box store. Instead, you need to reach out to a certified installer in your area and the Control4's website can help you find a dealer nearest your home. Our test was done by Control4 Certified Installer TechLife Media Systems, on Long Island, New York by Robert Eng and his team.
Installation of Control4 System
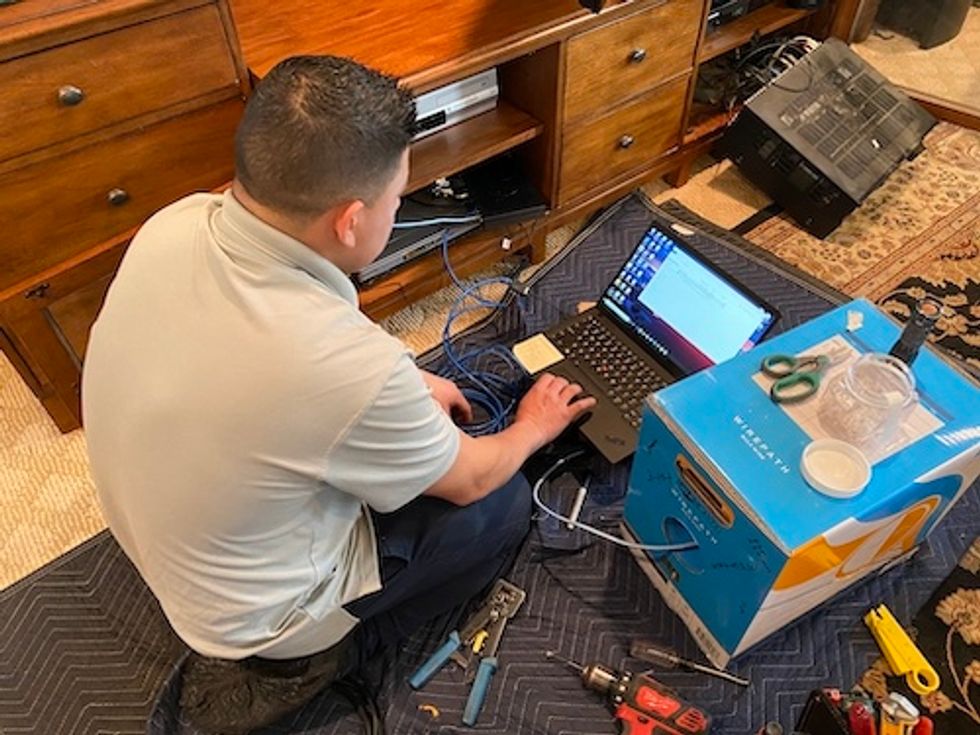
Our certified Control4 installer was TechLift Media Systems. Arrived on time and with a plan.
Pre-Installation Process
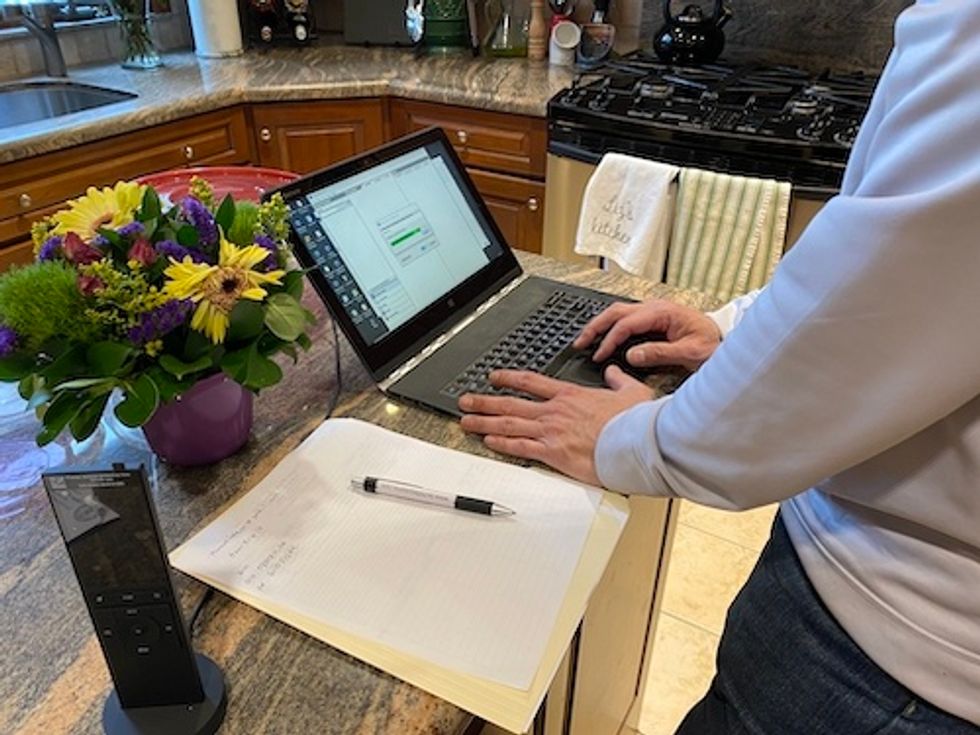
Before installers begin putting devices into a space, they start with a phone consultation so they know what someone wants to integrate into the Control4 system. There are more than 60,000 devices that can be added — so it's likely whatever someone wants can be included, and you can see how they'll be controlled: virtually, through a local connection or remotely.
Then, Control4 creates a virtual install, showing everything mapped out — which devices are being added and the rooms where they'll appear — which a homeowner approves. Installers will also use this map as they build the system in the home, and you can add and delete devices as you start.
Installation of Control4
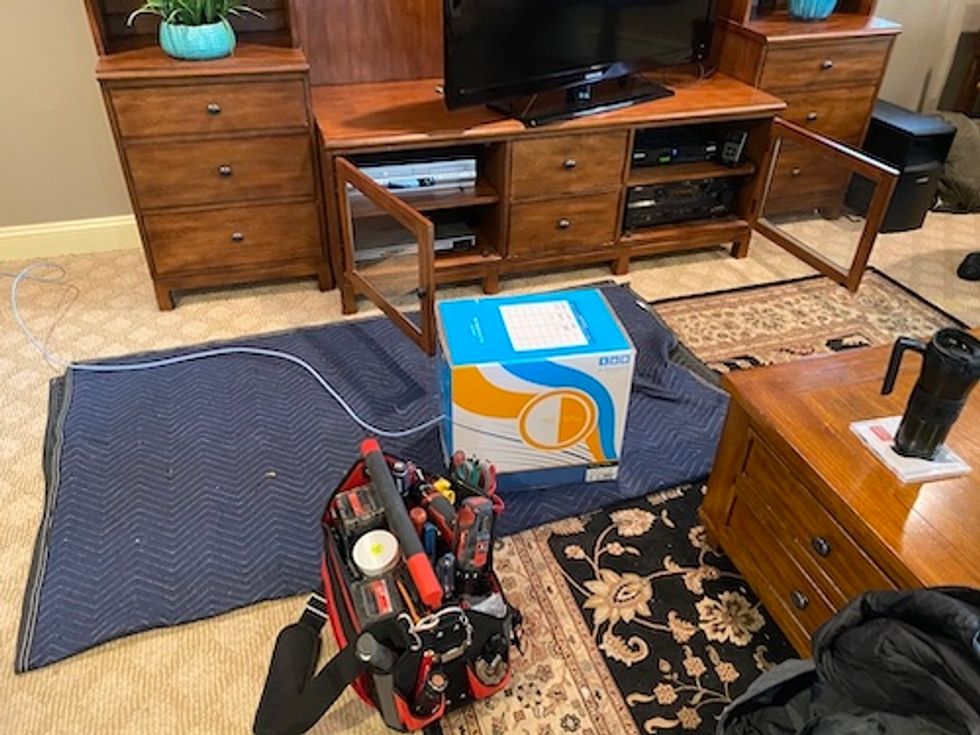
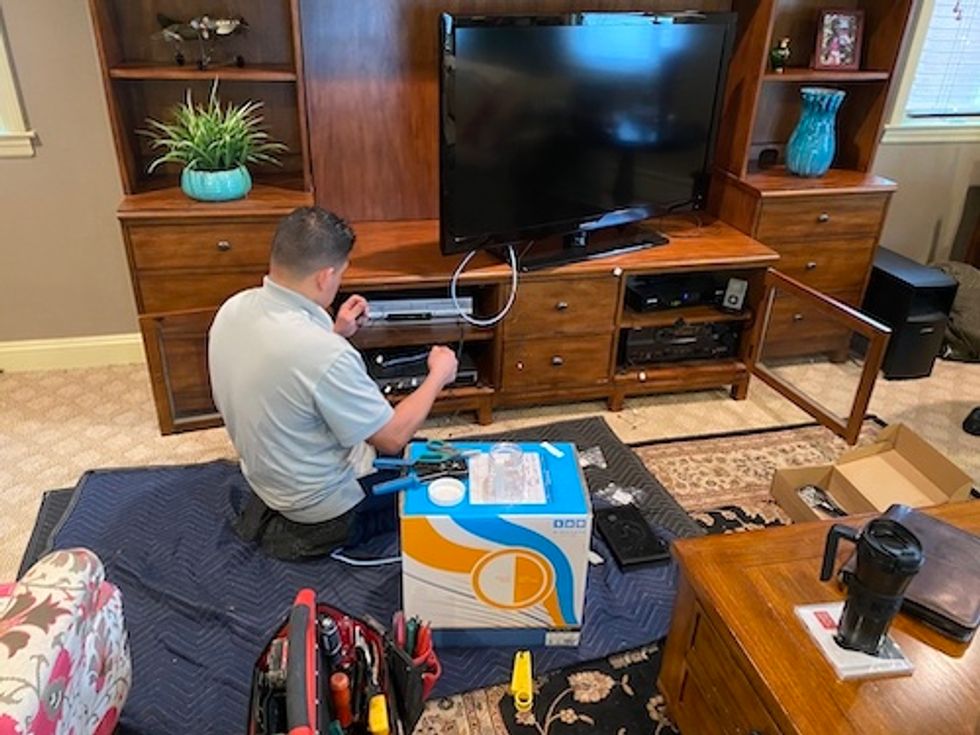
Installation of a Control4 system is a long and evolved process, and is going to take at minimum a few hours to even a few days depending on how many devices are being added. That's to ensure that everything is connected correctly and everything works.
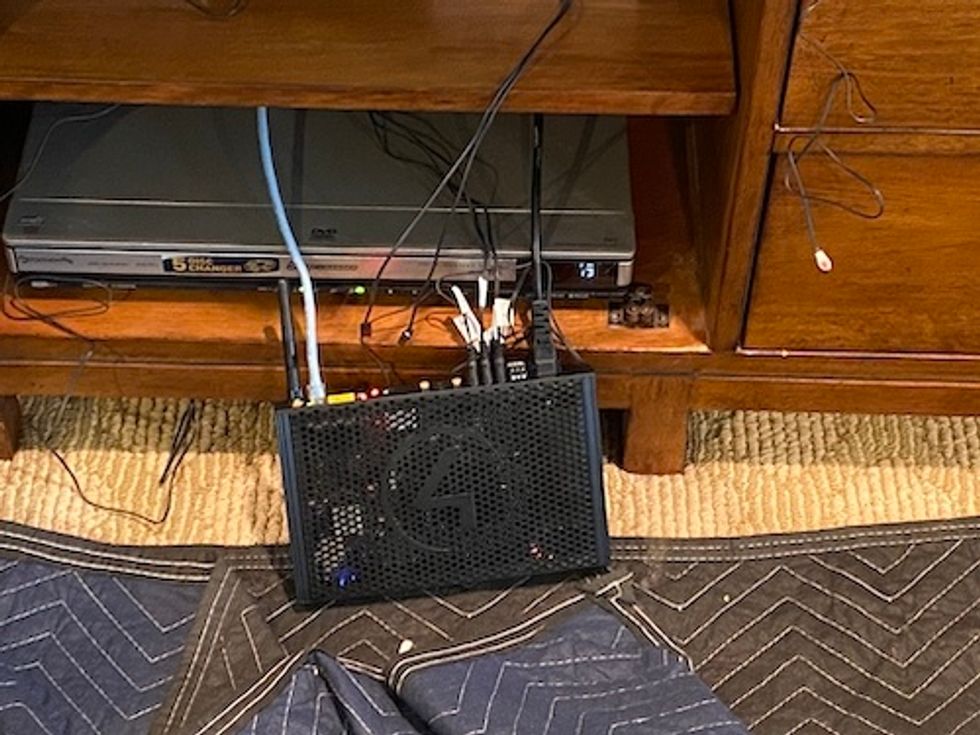
Our installation was set to take just a few hours because we had only a handful of smart devices, and a few that weren't connected, but would be integrated. These included an Amazon Fire TV, Amazon Echo, Nest Thermostat and Philips Hue smart lights, and then non-connected products including a Yamaha AV Receiver, Samsung TV, Optimum Cable Box, and a Toshiba DVR/VHS Receiver.
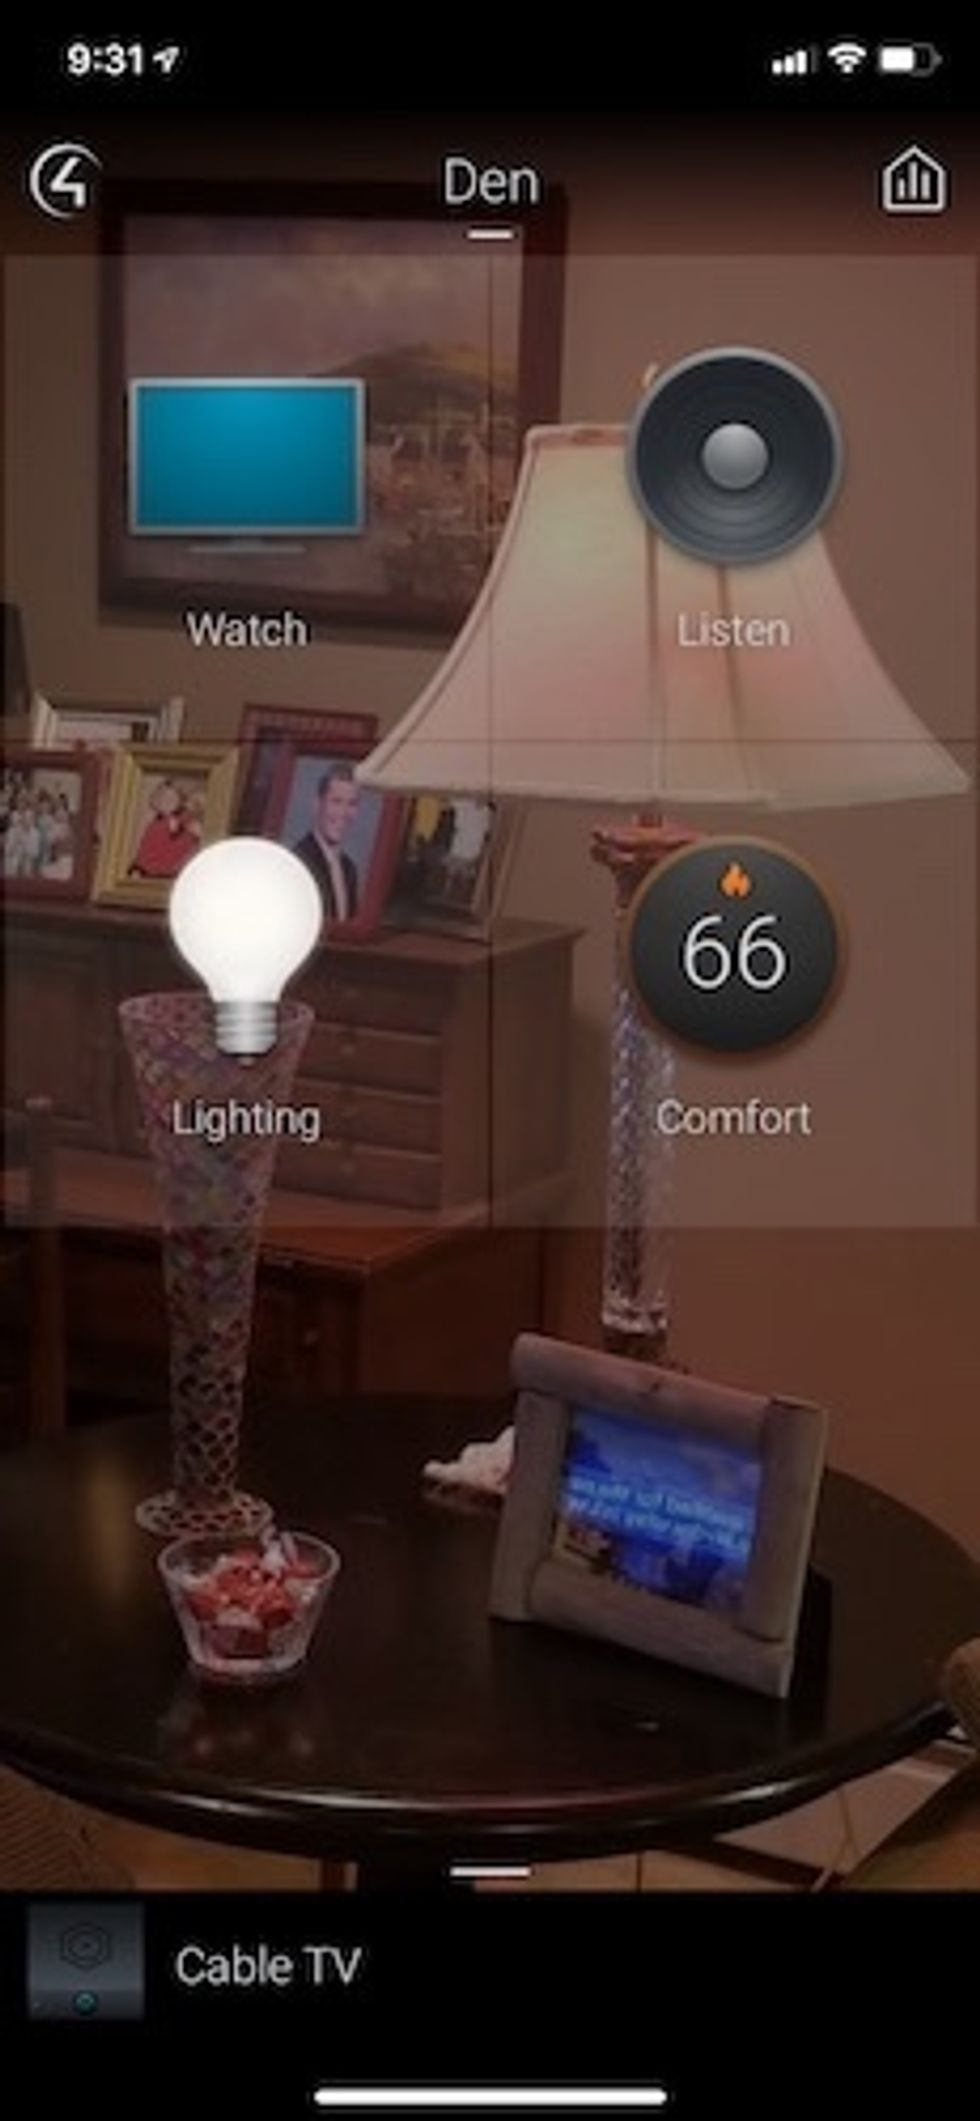
 home screen for our Control4 app. You can customize it.GearBrain
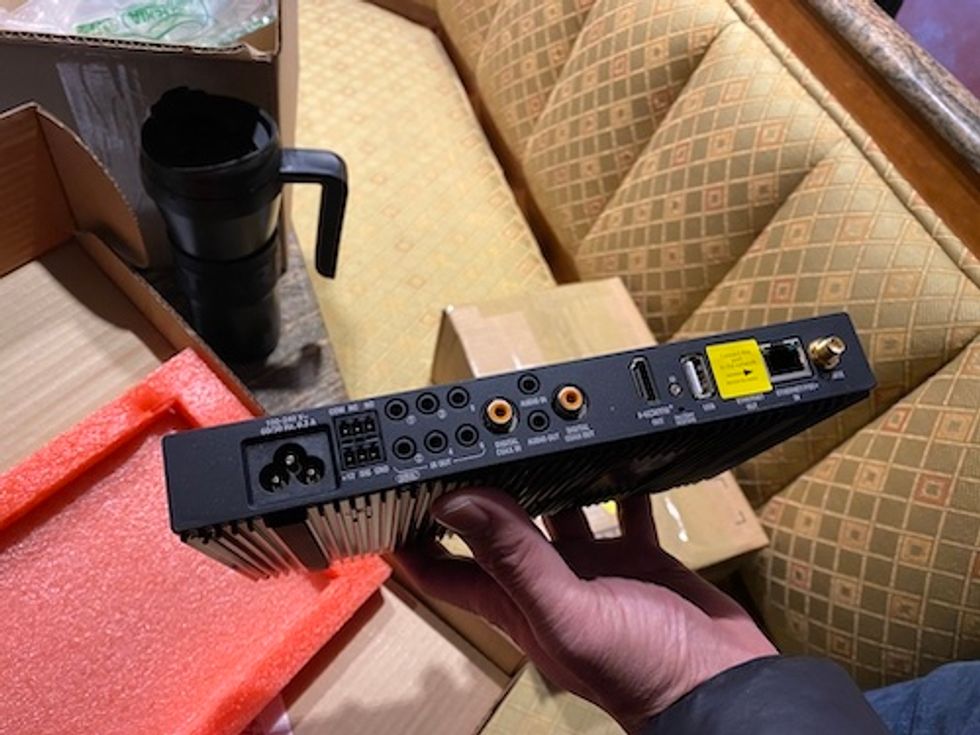
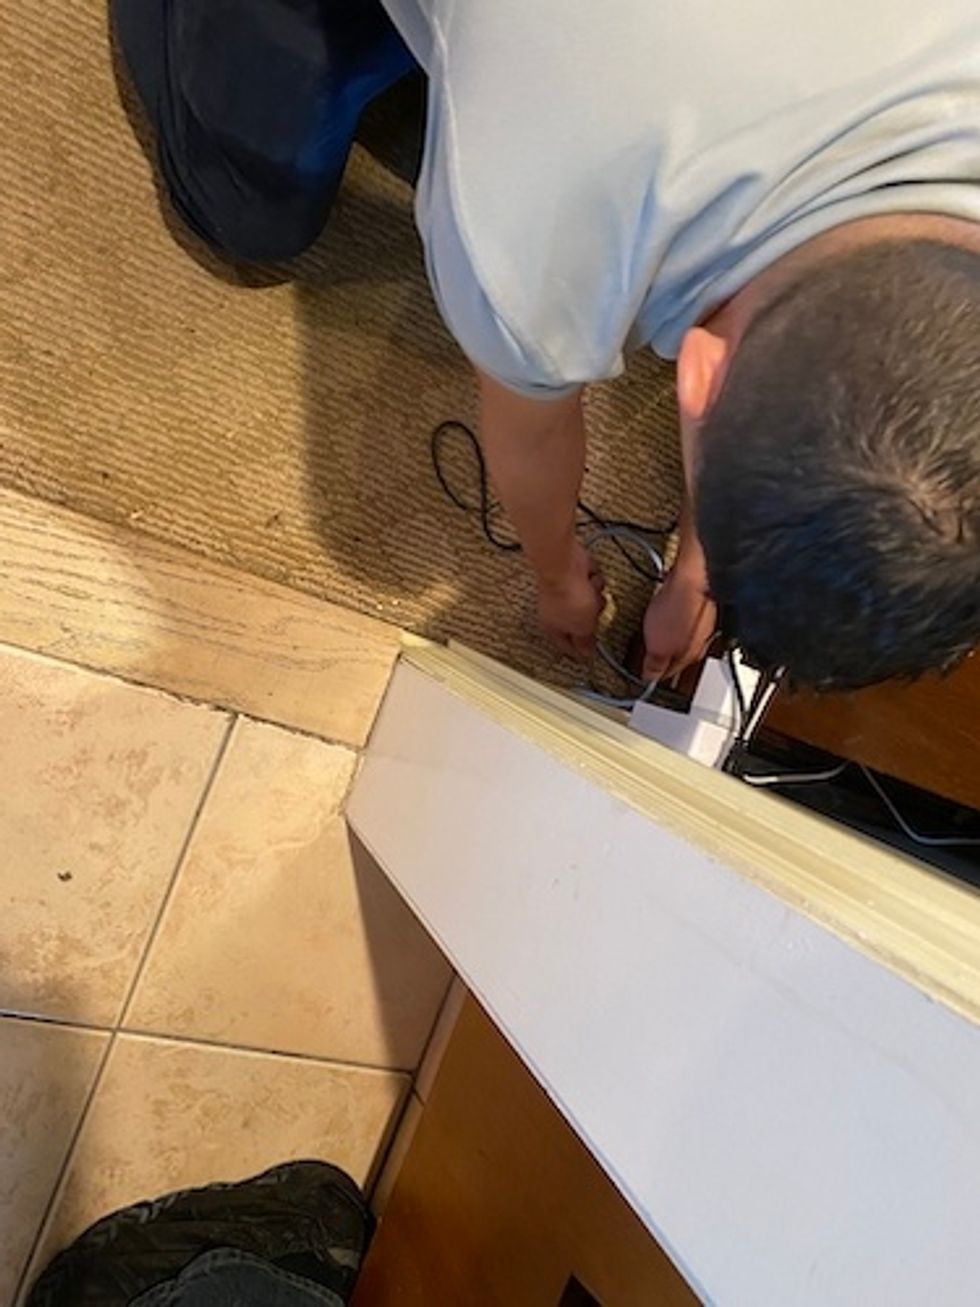
The so-called dumb devices are consumer electronics that are not connected to the internet. To connect to Control4 system, installers add IR readers to each device so the Control4 system can see them. Note: if you have a weak home Wi-Fi network, you are going to experience connectivity issues with your Control4 system.
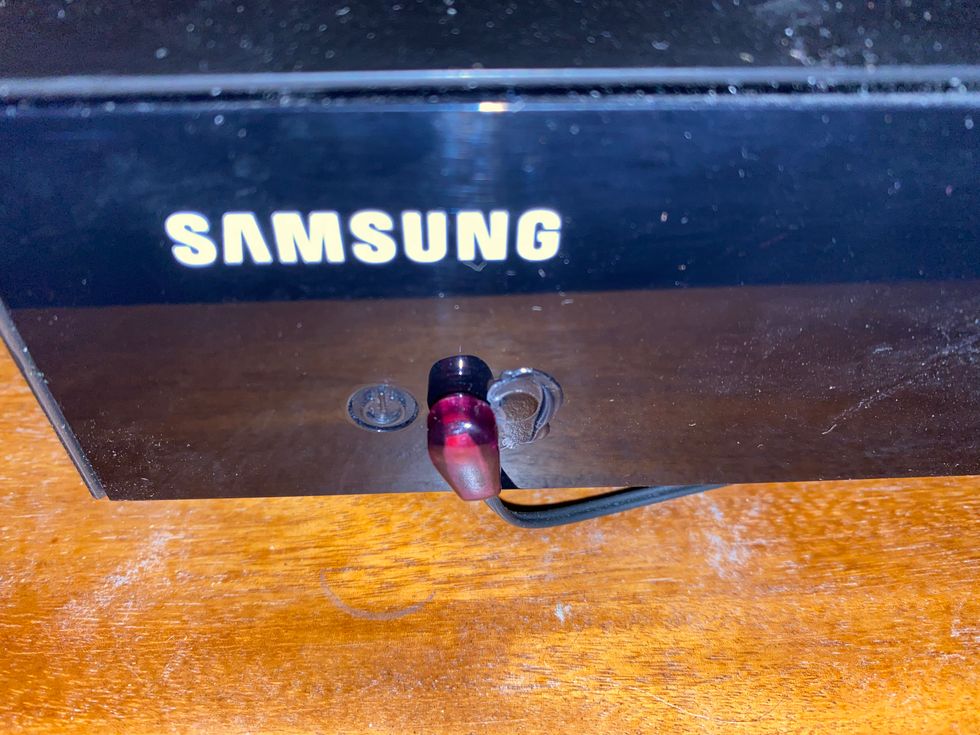
Control4 uses IR readers to find on/off switches to consumer electronics like your TV, AV receiver, DVD players or tape deck if they're fairly new. Once they find the location on the device, they hot glue the IR reader to keep it secure on your device, and ensure it doesn't fall off.
Our installer noted that IR readers sometimes won't work, especially with older consumer electronics, and occasionally the only smart function on these products that you can control is turning them on and off. This is something to keep in mind if you are adding a bunch of older AV Receivers or CD/DVR players. For example, one of the devices in our install was too old, limiting our smart functions to turning it on and off, and getting something to play and stop. An IR reader requires a code for it to be recognized, which Control4 needs to add something to its platform. We found this process similar to how Harmony Hub adds devices to their platform. Finding the codes can take time, which can add to the length of your installation.
Our install — even with some older products — was done after a few hours. The next step requires the homeowner to open, online, a Control4 account. Your installer will walk you thought the process, and then pair your controller to your home Wi-Fi.
Control4 supplies all their customers with online access to a customer portal. You can access the portal via a computer, tablet or even your smartphone which is nice. Customers can manage users and devices, personalized automation settings (i.e. automations such as "when the sun comes up, then turn off the lights") and configure voice control devices. You can also see your system, devices and build a profile. The portal has tutorial videos to help you learn more about your Control4 system and what you can do with it. There is also a link to your Control4 Smart Home Pro who installed your system.
 Customers can access your Control4 system via online portal.GearBrain
Be aware, that when setting up your Control4 system, if you need to have remote access to your system, you need to get a subscription to 4Sight. It costs $100 per year and provides you with remote access to your system from anywhere. It's an option unless you have Control4's Intercom (video doorbell device) which requires a user to have a 4Sight subscription. Based on what you're already paying for the Control4 system, we would recommend signing up for this service. It works through a cellular connection and will allow you to remotely control and monitor your system no matter where you are in the world.
If you choose not to sign up, though, certified Control4 installers do offer service contracts, so they can come to your home to fix issues that they can't handle remotely. But be aware that service does not include parts, and pricing varies by installer.
Neeo
Once we got our platform up and running, it was time to unbox and set up our new Control4 remote Neeo. This modern looking remote has a sleek design, with an HD, LCD touchscreen which displays icons as well as your controls. It comes with a docking and charging station, cables and five types of plugs (US, CN, AU, UK and EU). The remote has a battery life of five days based on two to three hours of use a day, and receives software updates automatically.
Neeo is used to control smart devices in your system, letting you turn them on and off, raise and lower volume, and operate products. For instance, you can setup Neeo to turn smart lights on or change the room temperature with your smart thermostat. All of these are done using the LCD touchscreen.
 Neeo remote control ready to be charged.GearBrain
Neeo was designed in Switzerland and has hard buttons to help control your system. The device is black, and one thing we noticed is that Neeo lacks backlit keys and buttons, making it harder to see the controls while watching a movie or listening to music in a darkened room. We think this would be a solid feature to add.
The Control4 Smart Home OS3 interface appears on your Neeo and the Control4 app which you can download to your iOS or Android smartphone. The interface is easy to use, and all your planned customized experiences and apps for your system are there. Your installer will walk you through how to use the interface, and explain the icons and functionality. You can also request specific shortcuts, like getting to a streaming service like Netflix. They can even setup up favorite rooms for you on the interface if you have multiple rooms in the system.
 Neeo remote powering up in it's powerstand.GearBrain
Summary
After four hours of setting things up and installing the system, we can say the overall installation experience was good. Our installers arrived on time and were very courteous and respectful of our test home. They even put on their slippers and used a clean blanket to rest all of their tools for installation. Once everything was setup, they walked us through how to use the system and meticulously went over each device they connected to the Control4 platform and how they work using Neeo or our smart speaker, Amazon Echo. It was a first-rate experience for a customized solution, even if it was for four hours.
In our next article, we are going to reveal all the smart device integrations Control4 offers and how they performed in our test home. Stay tuned.
Pros
- Excellent service
- robust smart home automation and ecosystem
- Customized solution
Cons
- Expensive
- Long installation process
- Need to pay for remote access
- No back light on Neeo remote
From Your Site Articles
Related Articles Around the Web

 home screen for our Control4 app. You can customize it.GearBrain
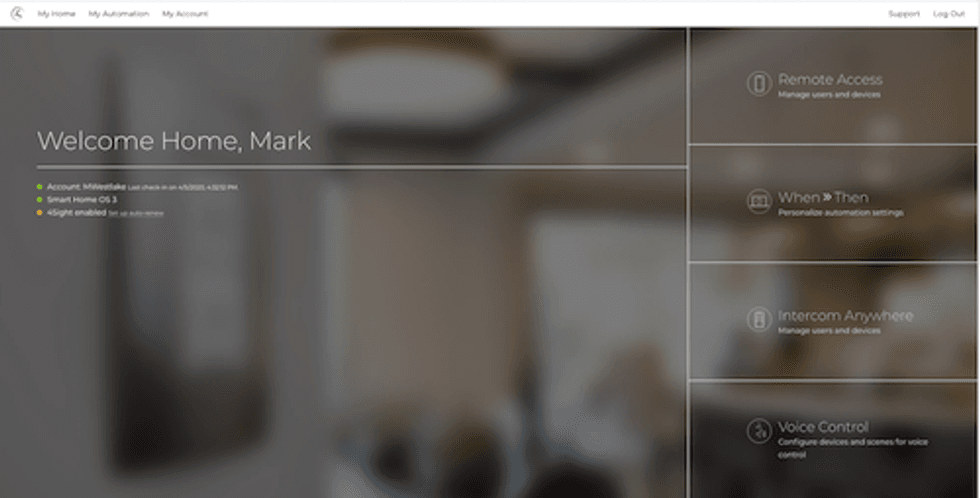 Customers can access your Control4 system via online portal.GearBrain
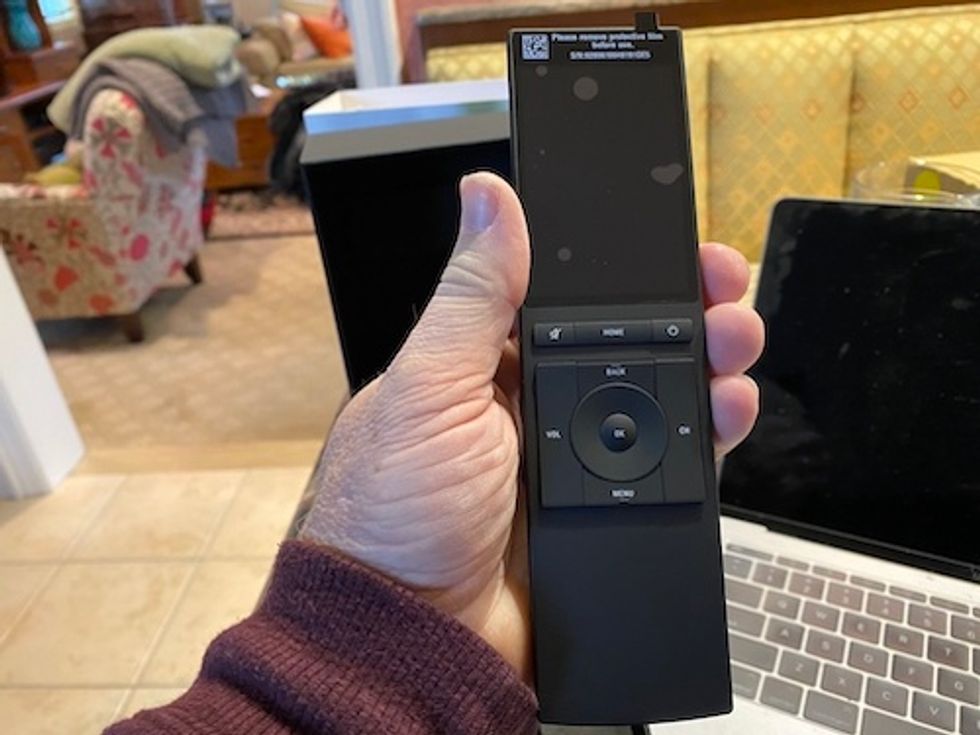 Neeo remote control ready to be charged.GearBrain
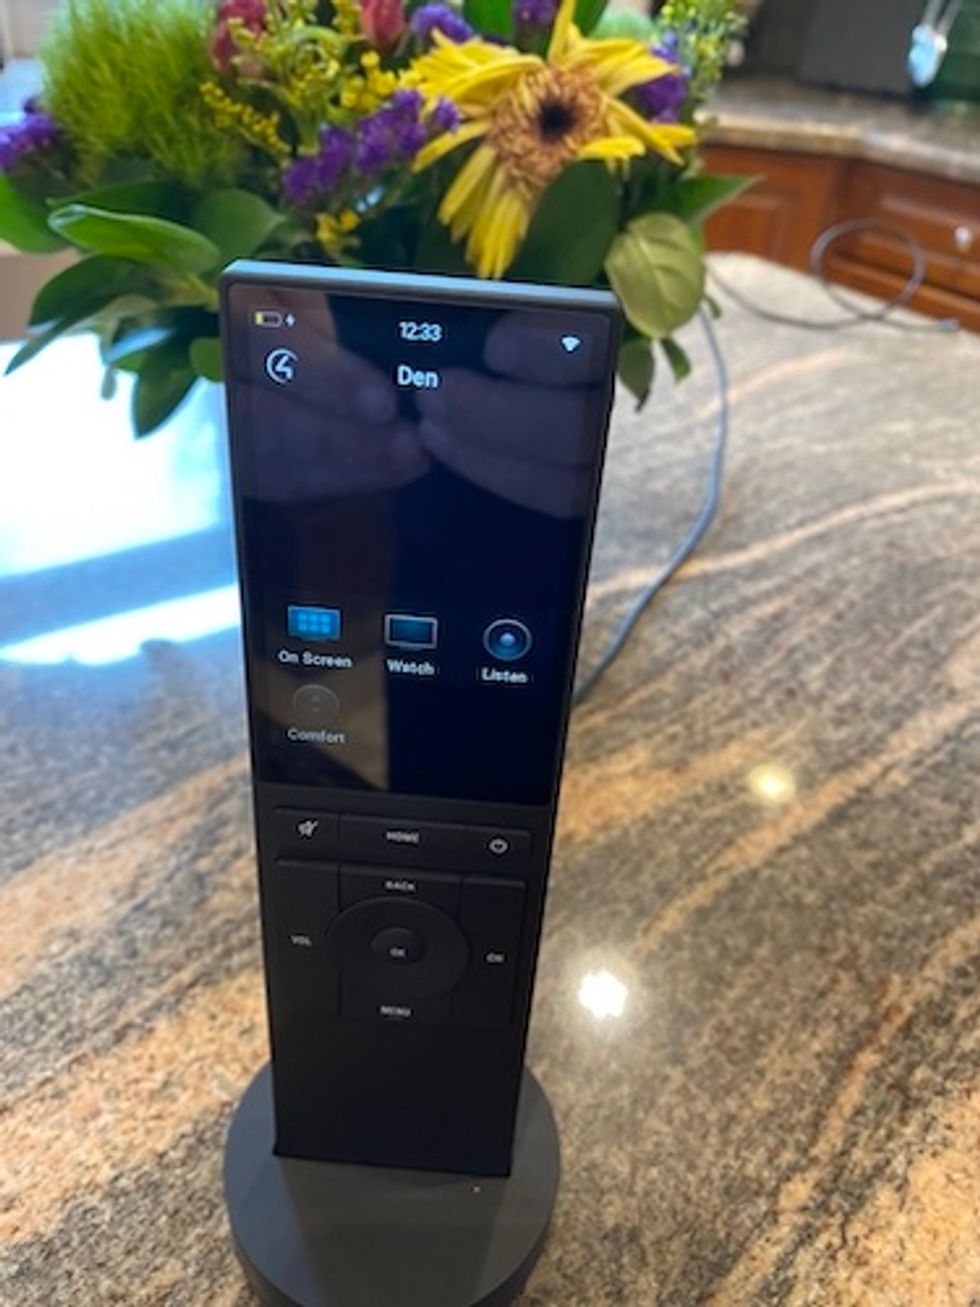 Neeo remote powering up in it's powerstand.GearBrain